
A great pie crust is (literally!) the foundation of a great pie, so when it comes to baking the perfect pie, you want to bake the right pie. All Butter’s classic crust is firm, crispy, and not too intimidating. Read on for all my tips to master in no time. With just a little practice (and cold butter), you’ll be able to make all your favorite pies, from classic apple pie to coconut cream pie to quiche.
Why cold butter?
When the chilled butter finally begins to melt in the oven, it creates steam that creates a layer of flaky crust inside. If the butter is already soft or warm when you put it in the oven, it will melt quickly, resulting in a flat, saggy dough that won’t hold its shape.
Let cool.
Speaking of cold butter, my best advice when making this dough is to keep everything as cold as possible. The cooler the dough is before baking, the crispier it will be and the better it will hold its shape when doing clean crimps and grating work. It’s best to work quickly, as the butter will begin to soften if your kitchen and hands are warm. If the dough feels sticky or melty when you roll it out, put it back in the fridge to cool slightly. This will allow the dough to rest and relax, preventing the pie crust from becoming too stiff.
Can I use a food processor to make pie crust?
A food processor is useful when making pie crusts, but I personally prefer kneading the dough by hand because it gives me more control over the size of the butter. However, food processors work fast, so they’re very useful when you’re in a hurry or when the kitchen is particularly hot. Additionally, using a food processor crushes the butter into pea-sized chunks instead of walnut-sized pieces, which is great for making smaller shapes and designs with the dough.
What is Par Baking and Blind Baking?
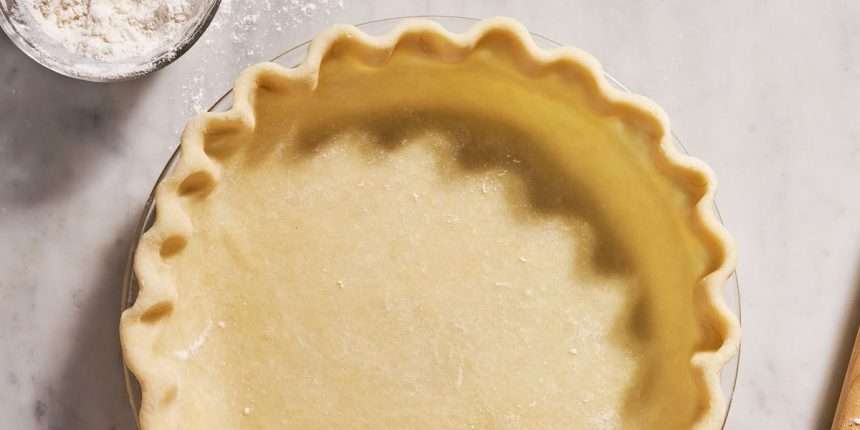
Many pie recipes call for a “blind bake” or “par bake” of the dough. Pre-baking is done before the filling is added to the dough, allowing it to bake all the way through without getting soggy all the way to the bottom. To prime the crust, place a parchment paper or foil inside the unbaked crust and completely fill with dry beans, rice, or pie weights. You need something heavy to add weight to the dough so it doesn’t puff up while baking. I like to stuff the dough all the way to the edges so it doesn’t fall out. It is then baked long enough until it is only partially cooked. Keep in mind that the crust needs to be put back in the oven along with the filling to continue cooking, so you’ll need to take it out sooner than you think. Check to see if the edges start to turn golden and look set and dry.
Blind baking, on the other hand, is used when the dough needs to be completely baked without any filling inside. This is for pies with a non-baked filling, such as chocolate pudding pie or lemon meringue pie. Bake the dough in the same way as the base bake, but continue until the dough is golden brown.
Can I make the pie crust in advance?
yes! It is ideal to make the dough in advance. The dough can be stored in the refrigerator for 3 days and in the freezer for 3 months. If using frozen dough, thaw overnight in the refrigerator before using.
This dough is enough to make one layer of a 9 inch pie. If you want a top crust for your pie, this recipe easily doubles it up. Simply divide the dough in half, then wrap and chill to make it easier to stretch each portion.
did you make this? Let us know how it went (and what pies you baked with it) in the comments section below.